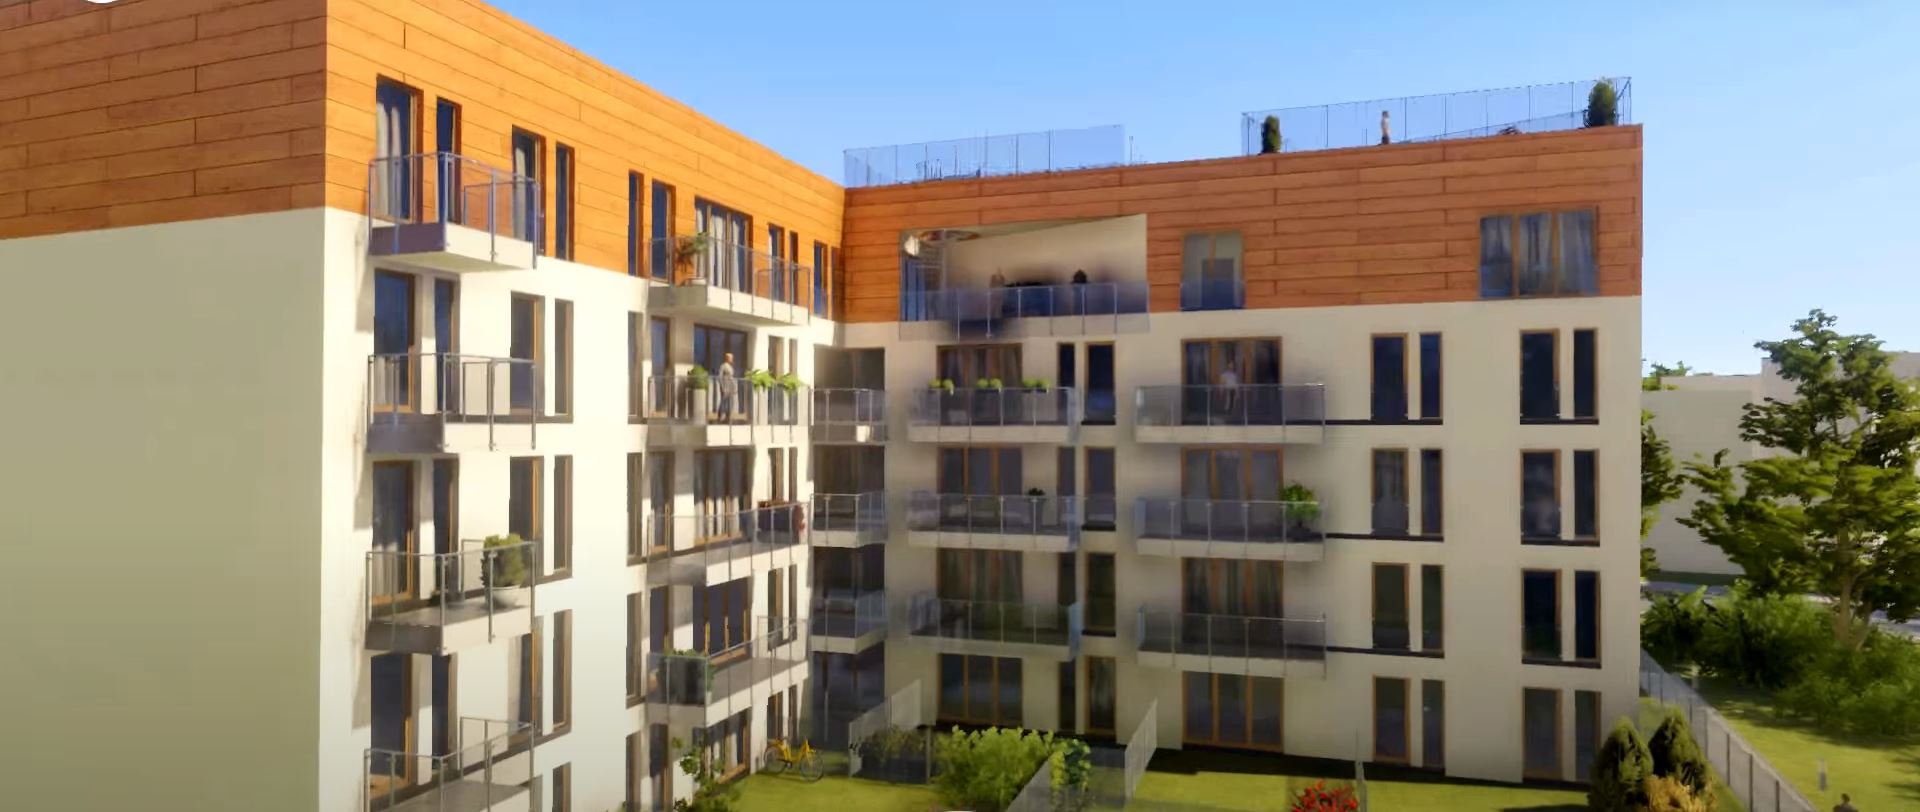
I want to achieve such kind of graphics quality in my scenes, and I want to know if ambient occlusion’s factor and distance field would help me achieve this. I don’t know how ambient occlusion works, but when I googled about it, it told me that AO helps in creating shadows from the mesh itself irrespective of directional light source.
@jan / @wojtek, Can you please help me to understand AO better and how should I use the values of “factor” and “distance” and achieve such kinds of effects.
The ambient occlusion settings will rather not impact the quality.
To have more detailed lighting/shadowing in an exterior scene you have to increase the number of lightmaps. In most cases, exterior scenes don’t fit in the default number of two lightmaps, so the lightmap resolution is automatically decreased on bake. When you increase the number of lightmaps there is no decrease or the decrease ratio is lower.
Another important thing is setting “Custom lightmap resolution” (“Objects” tab) for the building surroundings like terrain and plants to a low value. Use value in 1-10 range: the larger the terrain, the smaller value. This will leave more space in the lightmaps for the most imporant part of the scene - the building.
Thanks for the detailed information. Can you please guide me on when and how AO settings should be used for exterior scene ? Would AO settings be responsible to show some shadows from the mesh itself, irrespective of the direction of the light as stated on the internet ?
Ambient occlusion adds a fake ambient lighting to the scenes, so is primarily used for interior scenes, where there are unlit or weakly-lit areas. For exterior scenes using a sky light shining in all possible directions, the exterior meshes already have self-shadows, and using fake ambient lighting will not make the shadows stronger.
If you would like to make shadows stronger you can tune the Gamma setting or add a Color map in the Camera tab of the editor.
If you use Photoshop, I think you should be able to produce a PNG LUT from one of your other-format LUTs by applying the other format LUT to the neutral LUT PNG in Photoshop (according to: Convert a CUBE or 3DL LUT to a PNG Image)